Installing Fender Flares: What to Expect and Common Mistakes to Avoid
Understanding the intricacies of fender flares will not only help you make informed decisions but also ensure that the end result is exactly what you envisioned. From selecting the appropriate style to preparing your vehicle, every step plays a crucial role in the overall success of the installation. By diving into the details, you'll be better equipped to handle any challenges that arise, leading to a smoother installation process and a more polished final look.
Understanding Fender Flares
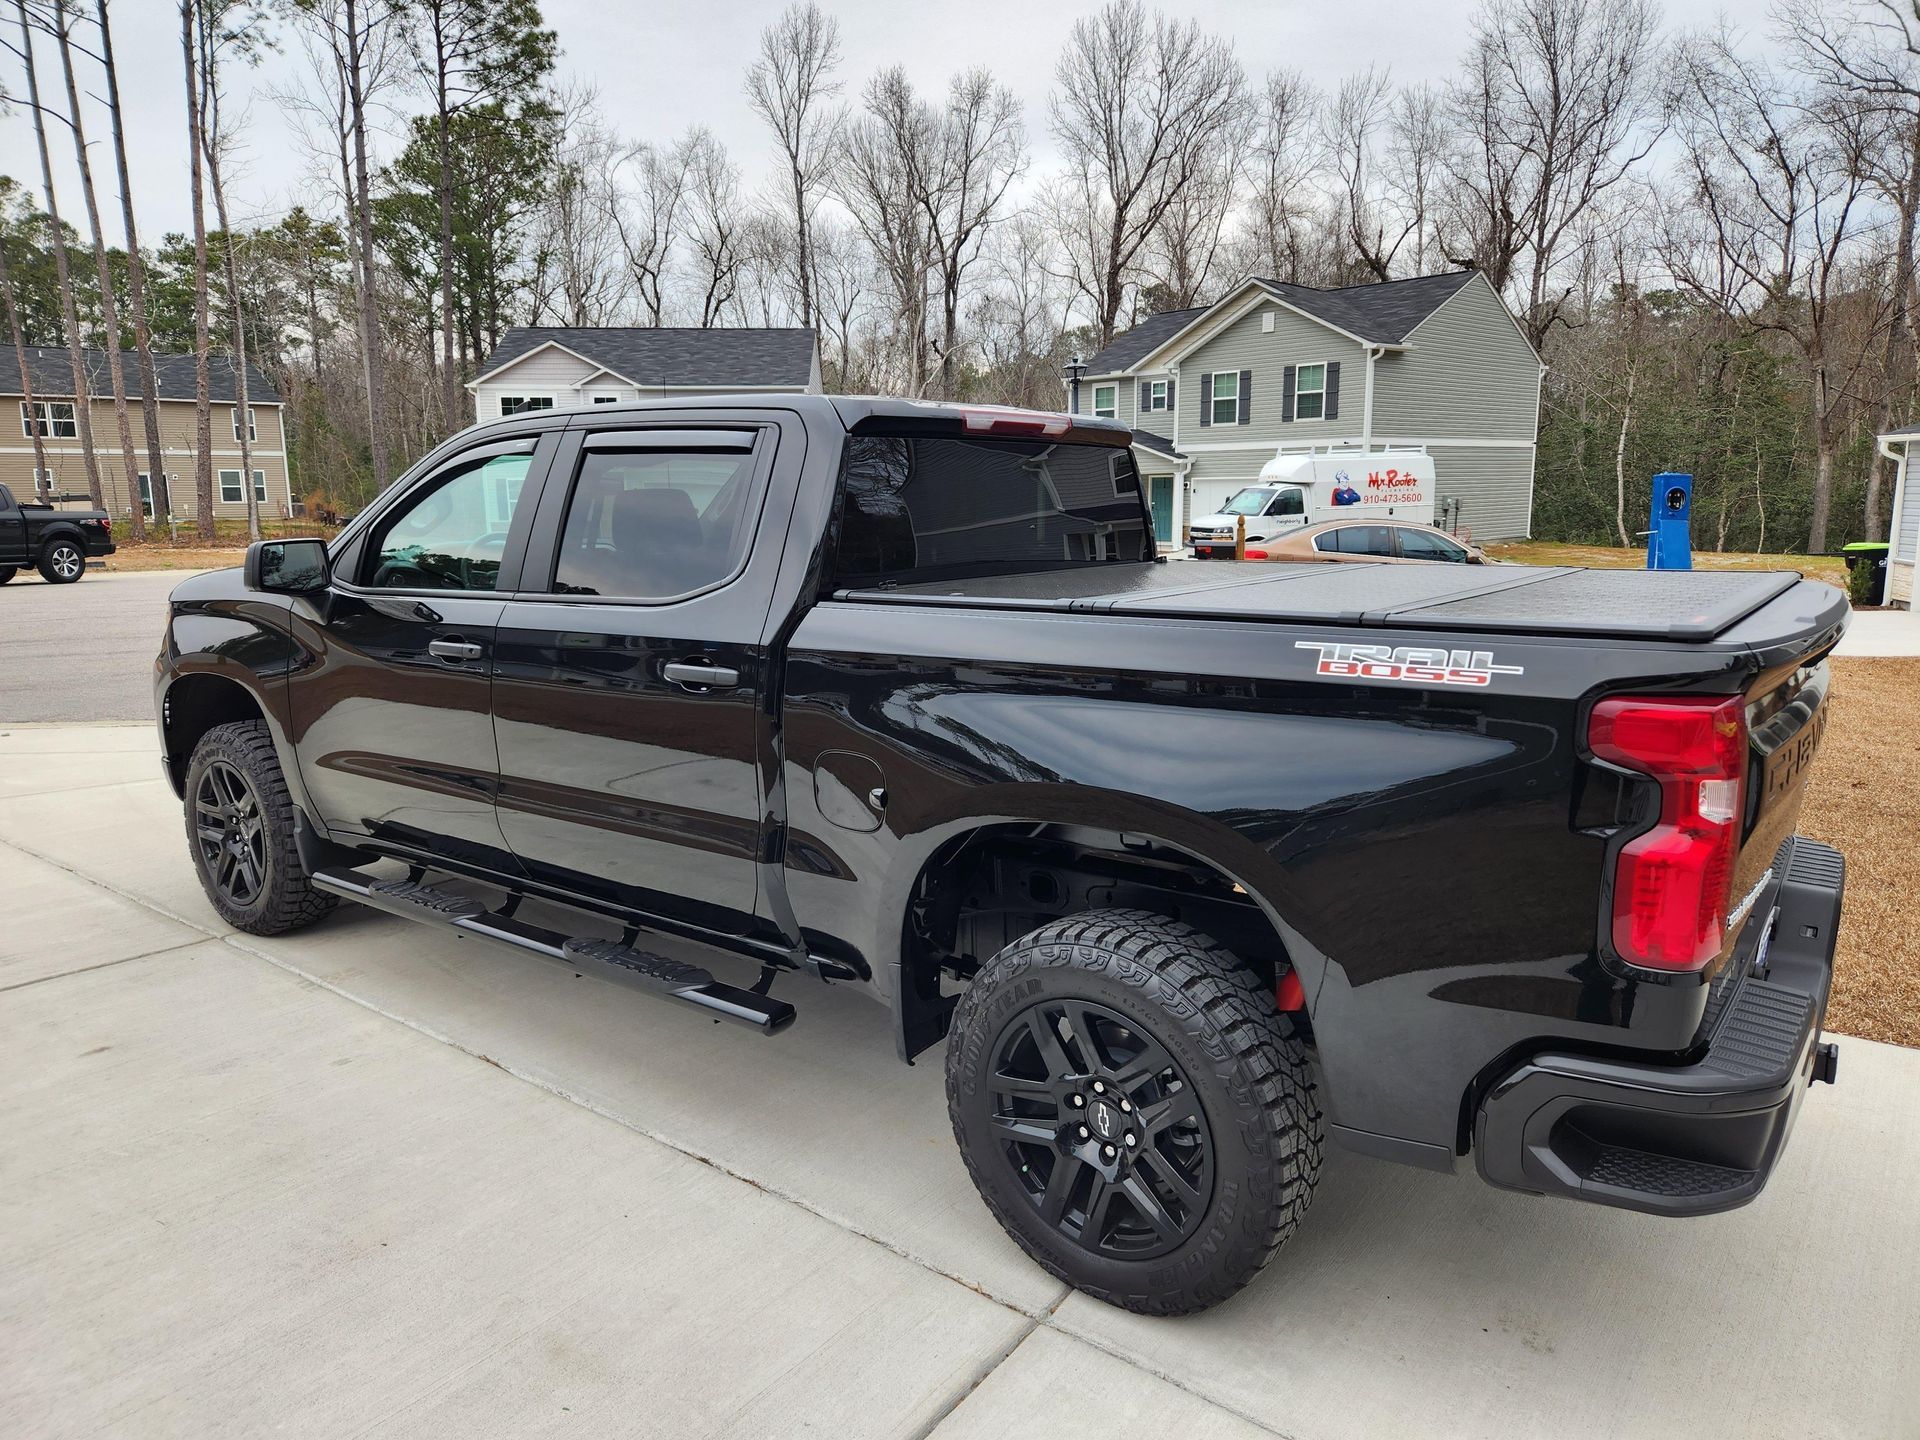
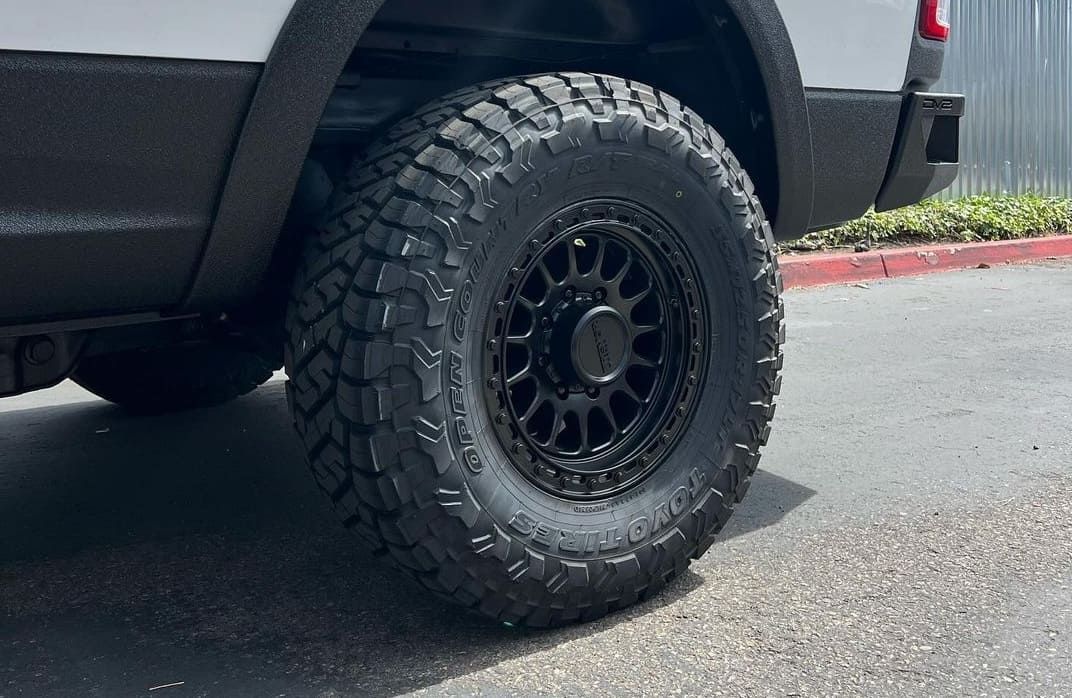
Fender flares are accessories that attach to the wheel arches of a vehicle. They serve several purposes, including providing additional coverage for oversized tires, protecting the vehicle's body from road debris, and enhancing the aesthetic appeal of the vehicle. Available in various styles and materials, fender flares can be customized to fit the look and needs of your vehicle. They are particularly beneficial for off-road enthusiasts who frequently drive through rough terrain where rocks and debris are common.
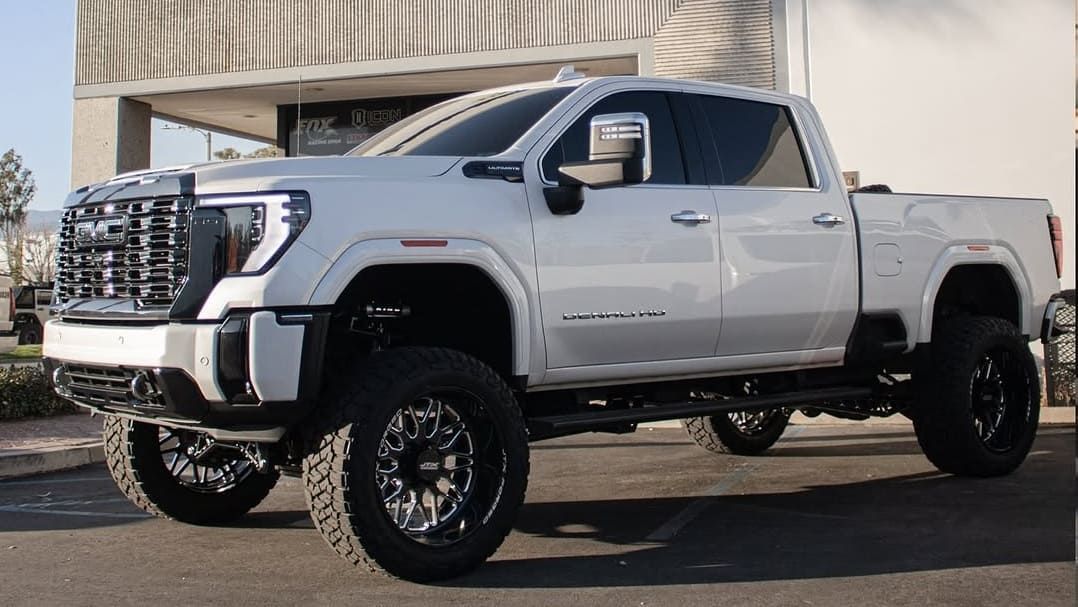
In addition to functional benefits, fender flares are a style statement. They can transform the look of your vehicle, giving it a rugged or sleek appearance depending on the style chosen. With a variety of finishes and colors available, you can match or contrast the flares with your vehicle's paint job, creating a cohesive or standout look. Understanding the purpose and options available will guide you in choosing the right fender flares for your vehicle.
Types of Fender Flares
Before diving into the installation process, it's crucial to understand the different types of fender flares available. Here are the most common types:
- OE Style: Original Equipment (OE) style flares provide a subtle look, maintaining the factory appearance while offering minimal additional coverage. They are perfect for those who prefer a more understated look without compromising on functionality. OE style flares blend seamlessly with the vehicle's original design, making them a popular choice for those who want to maintain their vehicle's factory look.
- Street Style: These flares are slightly larger than OE style and give a sleek, low-profile look. They are designed to offer a modern and sporty appearance, perfect for urban driving where style is as important as function. Street style flares are ideal for vehicles that need a slight enhancement without going overboard.
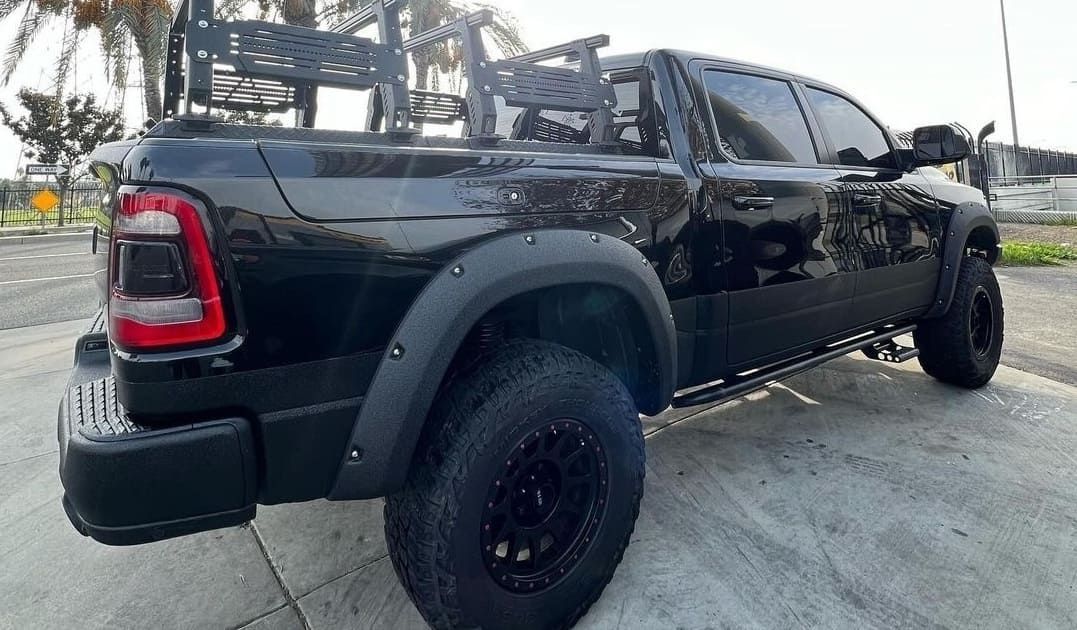
- Pocket Style: Featuring exposed bolt heads, pocket style flares offer a rugged, off-road appearance without the need for drilling. These flares give the vehicle a bold, aggressive look, making it stand out on and off the road. The installation is usually straightforward, as they are designed to fit into existing holes in the vehicle's body.
- Extended Style: These flares offer maximum coverage, ideal for vehicles with large tires and heavy off-road use. They provide the most protection against mud and debris, making them a top choice for off-road enthusiasts. Extended style flares are also great for those who frequently travel in harsh weather conditions where extra protection is necessary.
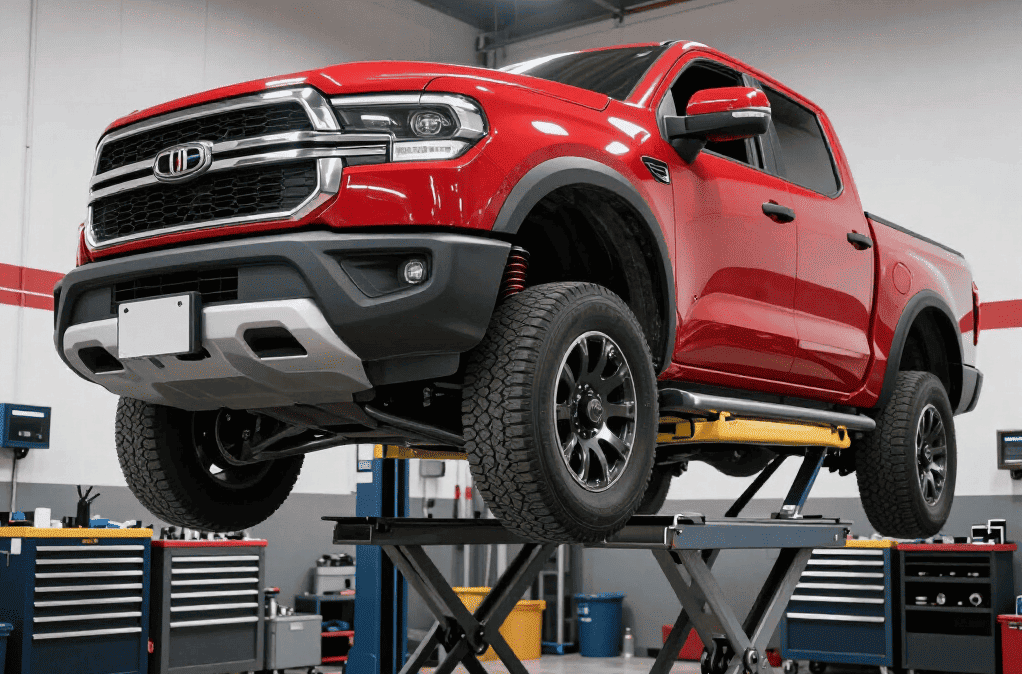
Preparing for Installation
Installing fender flares requires some preparation to ensure a smooth and successful process. Here's what you need to do before getting started:
Gather Your Tools and Materials
Make sure you have all the necessary tools and materials on hand. This usually includes:
- Fender flares kit: Ensure the kit is complete with all necessary components such as screws, clips, and adhesive.
- Screwdriver set: A variety of sizes will help you handle different types of screws during installation.
- Socket wrench set: Useful for tightening bolts and ensuring a secure fit.
- Masking tape: Essential for temporary placement and alignment checks.
- Cleaning supplies (soap, water, cloth): To clean the vehicle surface before installation.
- Rust inhibitor (optional): Protects the vehicle's body from rust, especially if the paint is chipped during installation.
Having all these tools ready not only streamlines the process but also prevents unnecessary delays. It's also a good idea to check the manufacturer's installation instructions included with the fender flares kit to see if any additional tools are needed.
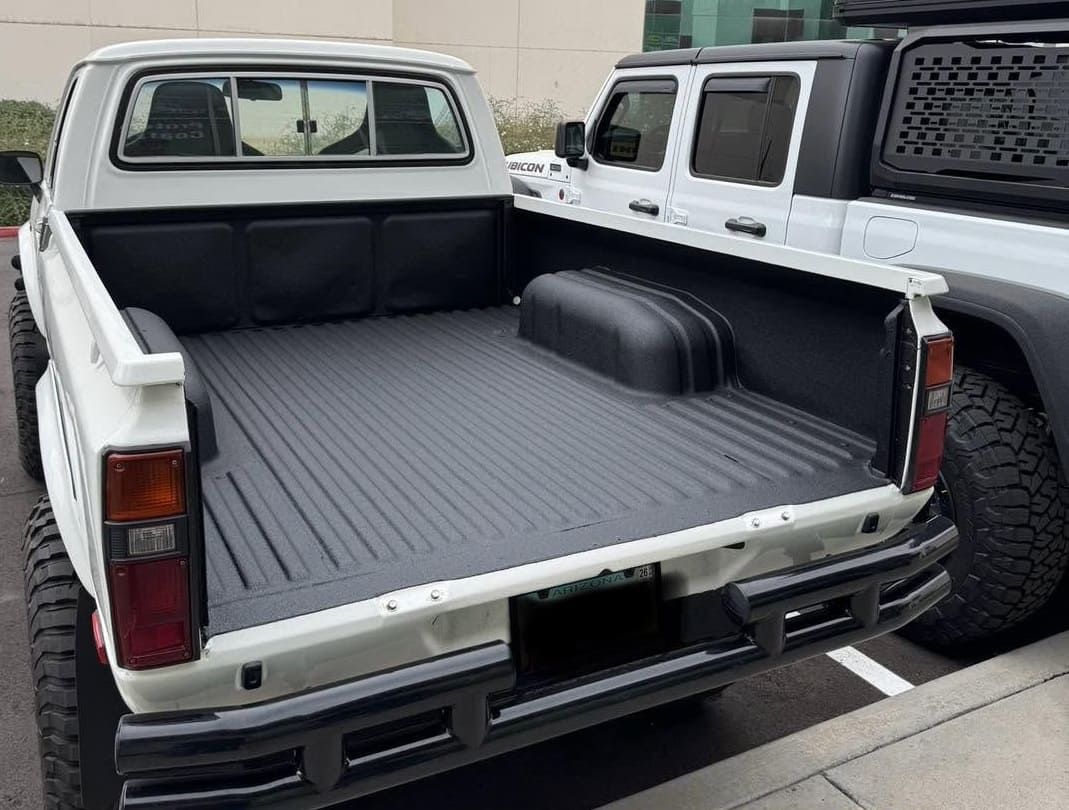
Clean the Vehicle
Before installation, thoroughly clean the areas where the fender flares will be mounted. Dirt and grime can affect the adhesive and cause improper fitting. Use soap and water to remove any residue, and ensure the surface is dry before proceeding. A clean surface ensures that the flares adhere properly and reduces the risk of long-term damage from trapped moisture.
Take extra care to clean around the wheel arches, as this is where most dirt accumulates. For an even better bond, consider using a rubbing alcohol solution to remove any remaining grease or wax. A clean and dry surface is the foundation for a successful installation, so don't rush this step.
Test Fit the Flares
Before permanently attaching the flares, test fit them to make sure they align properly with the vehicle's wheel arches. This helps identify any adjustments needed and ensures a perfect fit. Test fitting also allows you to visualize the final look and make any necessary changes before committing to the permanent installation.
Use masking tape to temporarily secure the flares in place. This will help you assess the alignment and make any adjustments needed to ensure a seamless fit. Taking the time to test fit can save you from the hassle of having to redo the installation due to misalignment.
Step-by-Step Installation Guide
Step 1: Position the Fender Flares
Use masking tape to temporarily hold the fender flares in place. This allows you to check the alignment and make any necessary adjustments before securing them permanently. Ensure that each flare is positioned symmetrically to maintain the vehicle's aesthetic balance.
During this step, pay attention to any gaps between the flare and the vehicle's body. Adjust as necessary to ensure a snug fit. Proper positioning at this stage is crucial for both the functionality and appearance of the flares.
Step 2: Attach the Flares
Following the manufacturer's instructions, begin attaching the fender flares to the vehicle. This typically involves using screws, clips, or adhesive, depending on the style of the flares and the design of your vehicle. Ensure that all fasteners are placed correctly and securely to prevent any future issues.
If the flares require drilling, make sure to double-check the measurements to avoid any mistakes. The goal is to achieve a secure fit without damaging the vehicle's body. Take your time with this step to ensure precision and accuracy.
Step 3: Secure the Flares
Once the flares are correctly positioned, securely fasten them to the vehicle. If using screws, ensure they are tightened evenly to prevent warping or bending of the flares. Uneven tightening can lead to a distorted appearance and may affect the flare's protective capabilities.
Double-check all fasteners to confirm they are secure. Loose flares can cause noise while driving and may even detach over time. Ensuring everything is tightly secured is key to a successful installation.
Step 4: Finish Up
After the flares are securely attached, clean up any adhesive residue and ensure all components are firmly in place. If your kit includes a rubber gasket or trim, apply it to the edges of the flares for a finished look. This not only enhances the appearance but also provides additional protection against moisture and debris.
Inspect the installation for any gaps or misalignments. A thorough inspection will ensure the longevity and effectiveness of the fender flares. Taking the time to finish up properly will result in a professional-looking installation that stands the test of time.

Common Mistakes to Avoid
Skipping the Test Fit
One of the most common mistakes is skipping the test fit. Failing to test fit the flares can result in misalignment and improper installation. Always take the time to test fit before proceeding. This step ensures that you can make necessary adjustments before the flares are permanently attached.
Skipping the test fit can lead to a host of problems, including gaps, uneven placement, and even damage to the vehicle's body. By taking the extra time to test fit, you avoid these issues and ensure a smoother installation process.
Ignoring the Manufacturer's Instructions
Each fender flare kit may have specific instructions for installation. Ignoring these guidelines can lead to incorrect installation and potential damage to your vehicle. Following the manufacturer's instructions ensures that you are using the correct methods and tools for the installation.
Manufacturer's instructions are tailored to the specific design and materials of the fender flares. Overlooking these can result in a less secure installation and void the product's warranty. Always read and adhere to the provided guidelines for the best results.
Not Securing Flares Properly
Ensuring the flares are tightly and evenly secured is critical. Loose flares can cause noise while driving and may even detach over time. Double-check all fasteners to ensure they are secure. Properly secured flares will provide better protection and contribute to the vehicle's overall appearance.
Taking the time to ensure that each fastener is tightened correctly can prevent issues down the line. Regularly inspect the flares after installation to ensure they remain secure, especially if you frequently drive in rough conditions.
Overlooking the Finish
After installation, it's important to inspect your work. Ensure there are no gaps between the flares and the vehicle, and that all components are flush against the surface. This not only affects the aesthetic but also the protective function of the flares. A well-finished installation provides better protection against mud and debris.
Overlooking the finish can lead to premature wear and tear, as well as a less polished look. Spend time on the finishing touches to achieve a professional-quality installation that enhances your vehicle's appearance and functionality.
Tips for a Successful Installation
- Take Your Time: Rushing the installation process can lead to mistakes. Allocate sufficient time to complete the job carefully. Patience during the installation process will pay off with a better result.
- Work in a Clean Space: Ensure your workspace is clean and free from debris that could interfere with the installation. A clutter-free environment reduces the risk of losing small components and ensures a more organized process.
- Seek Help if Needed: If you're unsure about any part of the installation, don't hesitate to seek help from a professional or someone with experience. Having an extra set of hands can make the process easier and more efficient.
Installing fender flares can be a gratifying project that enhances your vehicle’s functionality and style. At LINE-X of Greenville, your Platinum Certified LINE-X Accessories Store serving Greenville, SC, we offer top-quality fender flares and expert guidance to help you get the job done right.
By following a proper installation guide and avoiding common pitfalls, you can achieve a clean, professional-looking result that stands the test of time. A well-executed fender flare installation not only boosts your vehicle’s rugged aesthetic but also provides essential protection against road debris, mud, and harsh elements.
Contact LINE-X of Greenville today for your free estimate and let our team help you choose the perfect fender flares for your vehicle.
With the right tools, products, and advice, your next upgrade will be both functional and flawless—delivering style and protection wherever you drive.